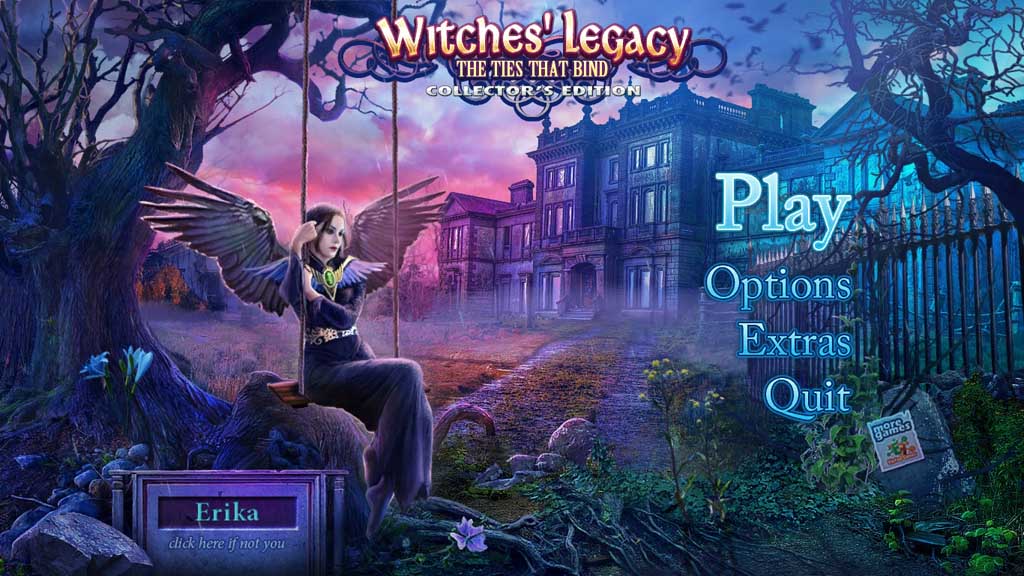
Witches' Legacy: The Ties that Bind: General Information & Tips
Our Witches' Legacy: The Ties that Bind Walkthrough is your one-stop source for assistance as you and your daughter, Lynn, attempt to rescue her beloved Edward from a dark force determined to destroy your family. Rely on our detailed directions, our custom marked game screenshots, and our easy-to-understand puzzle solutions to save you from frustration in this exciting new hidden object adventure game!
Chapter One: Visit the Orphanage
Chapter Two: The Bell Tower
Chapter Three: The Station
Chapter Four: The Caves
Chapter Five: In the City
Ask for help in the comments below!
Thanks for joining us at the Witches' Legacy: The Ties that Bind Walkthrough. Here you will find everything you need to help Lynn track down her beloved Edward in this exciting new addition to the Witches' Legacy games. Trust in our custom game screenshots, our detailed directions, and our simple puzzle solutions to help see you through this next adventure.
We hope you enjoy our Witches' Legacy: The Ties that Bind Walkthrough.

Opening Story:
In Witches' Legacy: The Ties that Bind, Lynn and Edward are blissfully happy and to be married when all of a sudden, Edward receives a strange letter that promises to reveal the secrets of his past. Now, it appears dear Edward has gotten in over his head and it's up to you and Lynn to rescue him from whatever dark powers have lured him into danger. Can you discover who's behind this cat and mouse game before it's too late? With our Witches' Legacy: The Ties that Bind Walkthrough at your side, it won't be a problem!
General Tips for Playing Witches' Legacy: The Ties that Bind
Difficulty - Two modes: Casual and Expert. In Casual Mode, the hint and skip buttons charge quickly, items of interest sparkle, and some of the puzzles are easier. In Expert Mode, the hint and skip buttons take longer to charge, there are no sparkles, and some of the puzzles are more difficult.
Hand - When your cursor turns into a hand, it means you can pick the object up and add it to your inventory or interact with an object in some way.
Magnifying Glass - When your cursor turns into a magnifying glass, it means you can zoom in and take a closer look on an area.
Navigation Cursor - When your cursor turns into an arrow, it means you can move in that direction.
Inventory - Your inventory can be found at the bottom of your screen. Items you collect throughout the game are found here. Hover your mouse over it to bring up the inventory bar. Click the padlock to lock it in place.
Hints - The hint button is found in the lower right hand corner of your screen. Click here if you're stuck. Just remember, the button takes time to charge before you can use it again.
Map - Your map can be accessed by clicking on the scroll in the lower right hand corner of your screen.
Journal - Your Journal is found in the bottom right hand corner of your screen. It will store game objectives as well as notes and observation you collect on your journey. You can also access the map from your journal.
Hidden Object Scenes - Hidden object scenes will sparkle. Objects in a different color require an extra step to find.
Mini-games - During mini-games, if you can't figure out the puzzle or don't feel like trying to solve it, you can click the skip button on the left to skip the puzzle and move on. Click the info button to get a detailed explanation on how to solve the puzzle.
Menu - The menu button is located at the bottom left-hand corner of your screen.
And that's the basics for playing Witches' Legacy: The Ties that Bind! Good luck! And we hope you enjoy our Witches' Legacy: The Ties that Bind Walkthrough!
Chapter One: Visit the Orphanage
Chapter Two: The Bell Tower
Chapter Three: The Station
Chapter Four: The Caves
Chapter Five: In the City
Ask for help in the comments below!
